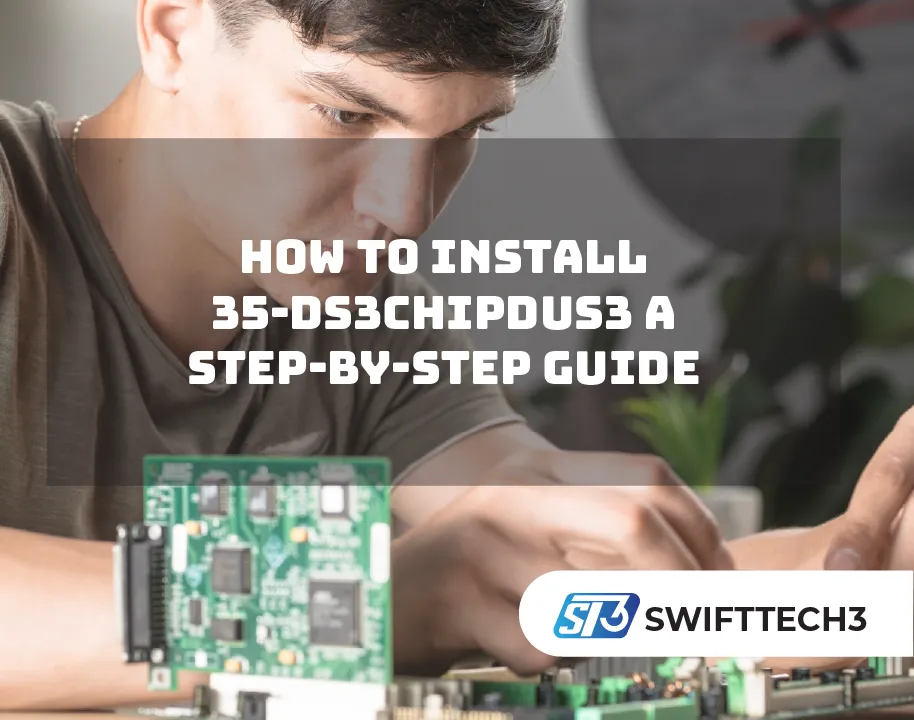
If you’ve recently purchased the 35-DS3ChipDus3 or are considering installing it yourself, you’re likely wondering about the process. Whether you’re a DIY enthusiast or a professional looking to upgrade your system, knowing how to install 35-DS3ChipDus3 properly is essential for a smooth and successful setup. This article will guide you through the installation process with ease, providing you with all the steps, tips, and insights to get your device up and running.
What is the 35-DS3ChipDus3?
Before we dive into the installation process, let’s take a quick look at what the 35-DS3ChipDus3 is. The 35-DS3ChipDus3 is a sophisticated chip used primarily in high-performance computing environments. It serves as an advanced data processing unit that is crucial for ensuring fast, efficient data transfer and system performance. This chip is commonly used in server-grade applications, gaming rigs, or high-end workstations, providing users with a substantial boost in speed and processing power.
If you’re looking to maximize your device’s performance, understanding how to properly install and configure the 35-DS3ChipDus3 can make a significant difference in your overall system capabilities.
Why Installing the 35-DS3ChipDus3 Matters
Installing the 35-DS3ChipDus3 can drastically improve your machine’s performance, especially when dealing with demanding tasks like video editing, complex simulations, or running multiple virtual machines. It’s designed to optimize speed and efficiency, making it a critical component for professionals in tech-heavy industries. Having it properly installed will ensure your system runs at its peak capacity and without any glitches.
How to Install 35-DS3ChipDus3: The Complete Installation Process
Now that we have a better understanding of what the 35-DS3ChipDus3 is and why it matters, let’s jump into the step-by-step guide for installing this chip.
Step 1: Gather the Necessary Tools and Equipment
Before starting the installation, you’ll need a few essential tools and components. These include:
- The 35-DS3ChipDus3: Obviously, this is the most important piece. Make sure you’ve purchased the correct version for your system (some variations may exist).
- Screwdrivers: A set of small screwdrivers, including both flathead and Phillips, will be needed to handle screws and plates.
- Anti-static Wrist Strap: This is critical to avoid static damage to sensitive components.
- Thermal Paste (if applicable): Some installations require thermal paste to ensure the chip runs cool.
- Operating System Drivers: You’ll need to download the latest drivers for your system from the official manufacturer’s website (this will depend on your operating system).
- Screws and Standoffs: Ensure you have the screws necessary to secure the chip in place.
Step 2: Power Down and Unplug Your System
Always start by turning off your machine and unplugging it from any power sources. If you’re working with a desktop or workstation, disconnect all cables, including power, monitor, keyboard, and mouse. This will prevent any electrical hazards and ensure you’re working in a safe environment.
Step 3: Open the Case
Next, open your system’s case. Depending on your device, you may need to unscrew or unclip the side panel to access the internal components. If you’re unfamiliar with your system’s case, consult the user manual or manufacturer’s guidelines for proper instructions.
Step 4: Locate the Slot for the 35-DS3ChipDus3
Once you have access to the inside of your machine, locate the correct slot for the 35-DS3ChipDus3. This will depend on the model and specifications of your motherboard. Typically, the chip will fit into a designated PCIe slot or a specific connector on your motherboard. Double-check the manual that came with the chip to ensure you’re installing it in the right location.
Step 5: Prepare the Chip for Installation
If necessary, apply thermal paste to the chip (if it isn’t pre-applied) to help with heat dissipation. This will help the chip operate at a stable temperature and avoid overheating. Spread a thin, even layer of thermal paste across the chip’s surface.
Step 6: Insert the Chip
Gently align the 35-DS3ChipDus3 into the slot you located earlier. Carefully insert it, ensuring it clicks into place. You may feel resistance as the chip fits into its connector. If you’re using screws or standoffs to secure the chip, carefully attach them once the chip is seated in place.
Step 7: Secure the Chip
Once the chip is securely inserted, fasten it using the screws provided. Be cautious not to overtighten them, as this could cause damage to the components. If the chip is part of a larger assembly, ensure that everything is aligned correctly before securing it in place.
Step 8: Close the Case and Reconnect Everything
After securing the 35-DS3ChipDus3, carefully replace the side panel of your case and screw it back into position. Reconnect all cables, including the power cord, monitor, keyboard, and mouse.
Step 9: Power Up and Install Drivers
Now it’s time to power up your system. Once your system is on, it should detect the new hardware automatically. You may be prompted to install drivers for the chip, so ensure you have the latest version downloaded from the official manufacturer website. Follow the on-screen instructions to complete the driver installation.
If your system does not automatically detect the chip, you may need to manually install the drivers via Device Manager (for Windows) or through your system’s terminal (for macOS/Linux).
Step 10: Test the System
After installation, it’s a good idea to test the system to ensure everything is functioning as expected. Run any benchmarks or performance tests that are relevant to your use case. If you experience any issues, double-check your installation and ensure that the drivers are up-to-date.
Tips for a Smooth Installation
- Read the manual: Always refer to the installation manual that comes with the 35-DS3ChipDus3 to ensure you’re following the correct procedure.
- Be gentle: When handling sensitive components, avoid applying excessive force to prevent damage.
- Update firmware: Make sure your motherboard’s firmware is up to date to ensure full compatibility with the chip.
- Test after installation: Always perform thorough testing to ensure the chip is performing as expected.
Common Issues and Troubleshooting
While the installation process is fairly straightforward, some users may encounter issues. Here are some common problems and their solutions:
Problem 1: The Chip Isn’t Being Detected
Solution: Ensure that the chip is securely seated in its slot. Check that all connections are tight, and try restarting the system.
Problem 2: System Performance Issues
Solution: This could be related to outdated drivers or an improper installation. Check for driver updates and ensure everything is correctly installed.
Problem 3: Overheating
Solution: If the chip is running too hot, recheck the application of thermal paste and ensure that the cooling system in your case is adequate.
FAQs
How long does the installation process take?
The installation process typically takes around 30-60 minutes, depending on your familiarity with hardware installations.
Can I install the 35-DS3ChipDus3 myself?
Yes, as long as you have some basic knowledge of computer hardware. The steps are relatively simple, but if you’re unsure, consider seeking professional help.
Do I need to install any additional software for the 35-DS3ChipDus3?
Yes, you will need to install the appropriate drivers for the chip, which can be downloaded from the manufacturer’s official website.
Conclusion: Wrapping Up the Installation
Installing the 35-DS3ChipDus3 is a fairly simple process, provided you follow the steps outlined above. With the right tools and a little patience, you’ll be able to get your system up and running with enhanced performance. Always remember to download the latest drivers, handle your components with care, and test your system after installation to ensure everything is working smoothly.
By properly installing the 35-DS3ChipDus3, you’re setting yourself up for improved processing power and speed, which will make a noticeable difference in your daily computing tasks. Happy installing!